
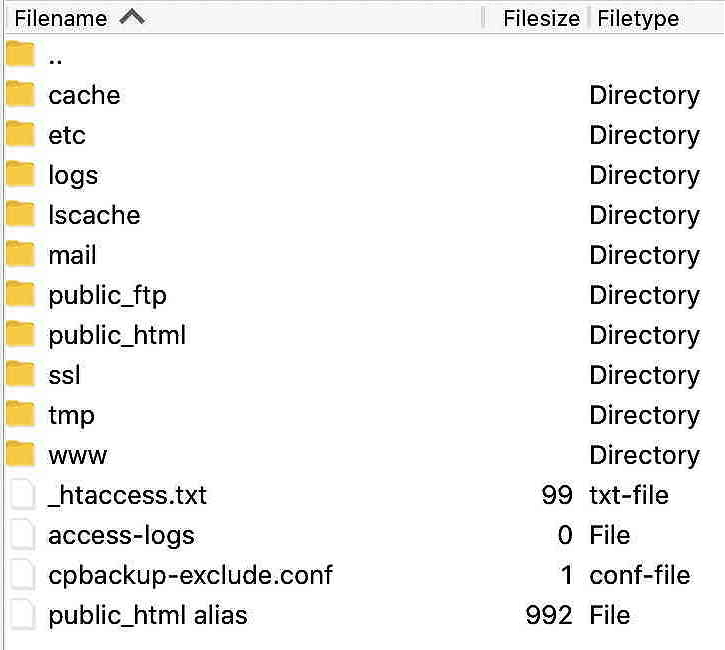
When first connecting to a server via a suitable application you’ll see something like this:
.htm or .html. Either extension can be used, although you must be sure to be consistent to avoid complications with links.To establish a working site at https://, for example, just upload all the necessary items into the public_html folder. Typically, the www folder will then automatically have the same content, so as to accommodate the alternative URL of https://.
www. prefix may differ from one that lacks such a prefix.Every web page consists of a text file containing Hypertext Markup Language (HTML), of which more will be said later. When viewed in a web browser application this is translated into the appearance intended by the site designer, a process known as rendering.
When a visitor arrives at mysitename.com, the browser always looks for a home page at https:// or https://. That file, essential for a website to work, is then automatically opened.
For a very simple site you would put these files in the public_html folder:
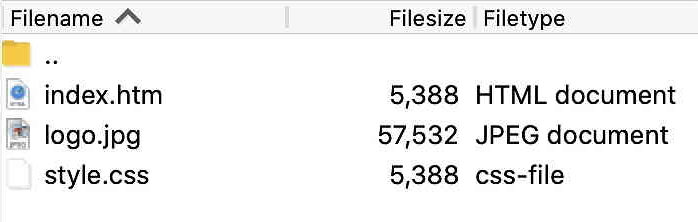
In this instance index.htm is the home page, logo.jpg is an image on that page and style.css is a Cascading Stylesheet (CSS) file that determines the appearance of the page. All these elements are needed, even for a simple site. Image files can be of varying types: JPEG (.jpg or .jpeg) files are for photographic images, GIF (.gif) files are for line art and low resolution moving images, and PNG (.png) files are for almost anything. Modern browsers work with any of these formats.
Here’s a more complex site:
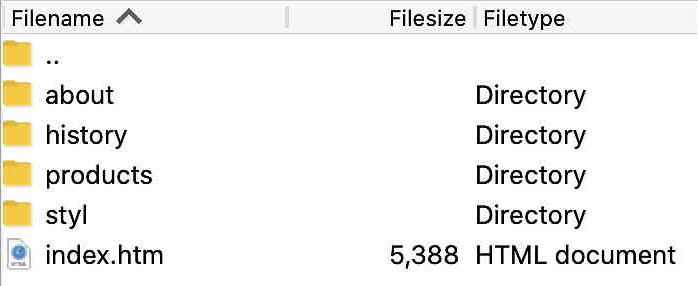
In this example there are other supporting pages in the site, each containing an index.htm or index.html file. This makes it easier when providing links for visitors. For example, if you give someone an address of mysitename.com/, the browser will instantly go to https:// or https://.
In the above example the logo.jpg file and style.css files have been relocated into a new style folder, which can be used to store graphics and other files shared across the entire website.
The contents of the above history folder could be formed of chapters, as shown here:
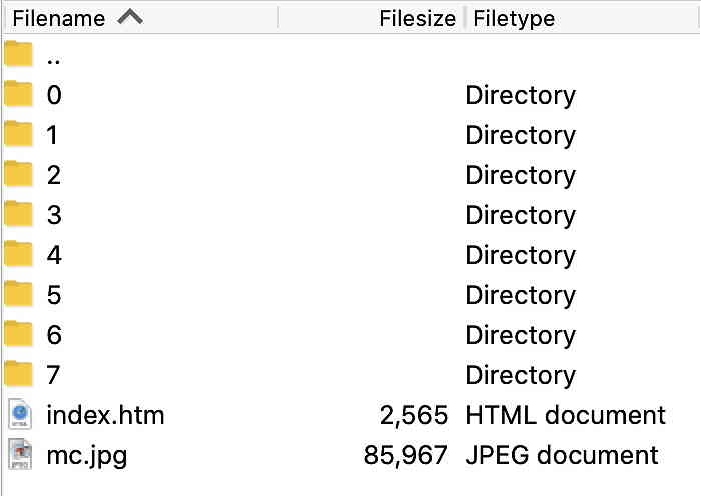
The mc.jpg file provides a graphic for the contents page, index.htm, whilst each of the chapter folders, with 0 as the introductory page, contain their own index.htm or index.html files, as well as any necessary graphics. For more than 10 pages you should start the folder numbering with 00, 01 etc.
The public_html folder often contains additional files, apart from those used for your web pages. These usually include:
403.shtml
The same as any other HTML file, the ‘S’ in the .shtml filename indicates a ‘server side’ file, as initiated by the server itself. This particular document, implemented by a ‘403’ error, tells a site visitor that they have landed on a ‘forbidden’ page. It should always incorporate a link that redirects them to the site’s home page. You can create this file using any normal HTML or web editor, linking it to images if you so require, although a simple page is often best, such as this:
https://whitefiles.org/403.shtml
404.shtml
Similar to the above, and triggered by a ‘404’ error, this tells a visitor that they have landed on an ‘unknown’ page, typically caused by entering an incorrect web address or caused by an error on the site. A simple example is here:
https://whitefiles.org/404.shtml
apple-touch-icon.png
Usually created as a single 180 × 180 pixels icon, this appears in Favourites or elsewhere in Apple browsers for all the pages of a site. The icon should be designed to appear reasonable when scaled down to a smaller size. Modern versions of Apple’s iOS automatically display this icon on any device.
favicon.ico
This icon, typically of 16 × 16 pixels, or 32 × 32 pixels if satisfactory when scaled down, is designed to appear in the menu bar of any browser, Apple or otherwise. The headers of all HTML pages must incorporate a link to the file, as in:<link rel="icon" href="favicon.ico">
robots.txt
Text in this document is intended to prevent web crawlers from having access to all or certain parts of a site, although such robots can ignore it entirely, or even use it to their advantage. Hence this should not be considered as a means of providing increased security. Many developers leave this file blank, allowing unrestricted access.
sitemap.xmlThis XML text file, which indexes all the documents on a site, is essential for search engines. It’s most often created by a website-building application or by other software, such as Integrity in macOS, which can check various aspects of an online site and then generate a sitemap ready for uploading to the server.
It’s important that your website appears to the world as a secure site, using HTTPS, not HTTP. Although the use of HTTP isn’t a real problem for a small site that doesn’t exchange information with the public, an insecure warning in web browsers does little to instill confidence in the site.
If you’re unsure about whether your site will be secure or not, proceed as follows:
index.html to the public_html folder.https://. If not, your site is insecure.If your site is insecure you’ll need to modify or create the hypertext access file, which has the name .htaccess.txt and is located your server’s topmost directory (see above). This file determines much of the underlying workings of your site.
.htaccess.txt is given the name _htacess.txt in some computer operating systems, since a full stop at the beginning of a filename often renders the file invisible. This character replacement makes no difference to how the file works.This file may not exist in a pristine setup, but you can create it from scratch. It should be a standard UTF-8 file (see later) containing the following three lines:
RewriteEngine On

RewriteCond %{SERVER_PORT} 80

RewriteRule ^(.*)$ https://mysitename.com/$1 [R,L]
If the file already exists you can view its contents. If you’re unsure how to proceed you may need to ask for advice from your service provider on how to add the necessary lines.
Having done this, you’ll need to ensure that all links to external sites in your web pages are addressed beginning with https://, even if they’re not secure. For example, to link to the site http://xyz.com you would use https://xyz.com. Any browser going to that link will first try HTTPS and fail, but will then try again with HTTP and succeed.
RewriteRule employs a text search and replace mechanism known as GREP. In the above example the character ^ identifies the start of the internal address of a web page, the .* represents the string of text characters in the address and the first $ marks its end. The address itself, now represented by $1, the string shown earlier in parenthesis, is then appended to https://mysitename.com/.Various other tricks can be executed using a RewriteRule. For example, some website links, especially those included in PDF documents, may have an erroneous full-stop (period) at the end of the URL. This can be fixed by adding the following line to your .htaccess.txt file:
RewriteRule (.*)\.$ $1 [R=301,L]
Any text ending in a literal full-stop (\.) is now replaced by the original string on its own.